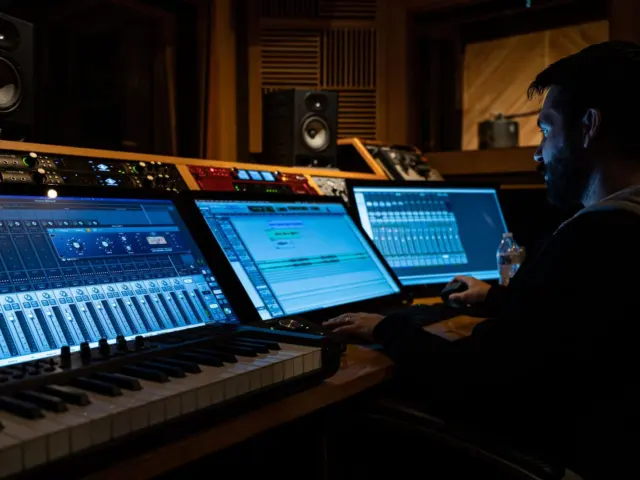
Your mix sounds great in the studio but flat next to released tracks, and you wonder what’s missing. Mastering is the final polish: balancing tone, loudness and consistency so a finished mix translates everywhere.
This guide sits inside our wider music production coverage, and it takes mastering one stage at a time.
| Item | Value |
|---|---|
| Apple Music loudness reference | -16 LUFS (most of the time) |
| Spotify default loudness reference | -14 LUFS |
| YouTube loudness reference | -14 LUFS |
| Deezer loudness reference | -15 LUFS |
| Integrated loudness measures | The whole song |
These figures come from iZotope’s streaming loudness guide. Platforms change their settings, so check the source before you rely on them.
What mastering actually does
Mastering is the last step between a finished mix and a release. You take a stereo file and make small, careful moves so it sounds right on earbuds, car speakers and club systems alike.
It is not a rescue operation. If a mix has a buried vocal or a boomy low end, the fix belongs back in the mix, and our guide to mixing explains why that stage comes first.
A mastering pass usually covers these jobs:
- Gentle tonal balance, so the track isn’t too dark or too bright.
- Controlling dynamics so the track feels cohesive.
- Setting final loudness and a safe peak ceiling.
- Matching levels and tone across songs on one release.
- Preparing the correct file formats and metadata.
The typical mastering signal chain
There is no fixed recipe, but most chains follow a similar order. Each tool does a small amount of work, because stacking heavy moves on a full mix quickly causes damage.
- Listen and diagnose. Play the mix against a reference track you know well, at matched volume, and note what differs.
- Corrective EQ. Fix resonances or a muddy region with narrow, small cuts. If you need a refresher, read how to use eq before touching a master.
- Tonal EQ. Use broad, subtle shelves to add air or weight.
- Compression. Use low ratios and slow settings to glue the mix without squashing transients.
- Stereo work. Check width and keep the low end centred and mono-compatible.
- Limiting. Raise the level and set the peak ceiling last.
Many engineers also use mid/side processing, which lets you treat the centre and the sides of the stereo image separately. Use it sparingly, because it is easy to make a master sound unnatural.
Loudness, LUFS and streaming normalization
Loudness is measured in LUFS, a scale that weights frequencies roughly as the ear hears them. Integrated loudness is the number most services care about, and per iZotope it is “essentially a K-weighted measurement of a whole song”.
Streaming services use it for normalization: they measure a track and turn it up or down so playback levels are similar. Per the same guide, Apple Music uses -16 LUFS most of the time, Deezer uses -15, and Spotify defaults to -14 LUFS, as does YouTube.
That has a practical consequence. With normalization enabled, a master above the playback reference gets turned down, so pushing loudness further can sacrifice dynamics without increasing playback level.
Should you master to -14 LUFS?
The same guide asks whether you should master to -14 LUFS and answers: “no!” The reasoning is that platform levels are playback references, not targets, and they differ from service to service.
iZotope adds that if you master close to -14 LUFS and keep dynamic impact, you’re free to do so, “knowing it may just get turned down a few dB”. In practice, the better question is what loudness suits the song and its genre.
Some points to keep in mind:
- Quiet, dynamic material such as acoustic music rarely needs heavy limiting.
- Dense genres may sit louder, but you pay for it in punch.
- Check peaks with a true peak meter, which improves on traditional sample peak measurements.
- Leave headroom, because lossy encoding can add peaks above the file’s level.
Common mastering mistakes
Most problems come from doing too much. A master should feel like a better version of the mix, not a different record.
- Over-limiting: chasing loudness flattens drums and tires the listener.
- Mastering in a poor room: bass boosts or cuts you make to compensate for the room will be wrong elsewhere.
- Skipping references: without a comparison you lose perspective after a long session.
- Ignoring level matching: louder playback can seem better, so compare processed and unprocessed at equal volume.
- Fixing mix problems: go back to the mix when one instrument is the issue.
Take breaks, and listen on more than one playback system before you commit to a final version.
Preparing your mix for mastering
A good master starts with a good handoff. A few habits make the final stage easier and the result better.
- Leave headroom on the stereo file instead of pushing the mix against the ceiling.
- Remove limiters and loudness maximizers from the master bus, or bounce a version without them.
- Export at the same sample rate and bit depth you worked in, without dithering.
- Listen for clicks, noise and abrupt edits at the start and end of the file.
- Keep a note of anything you want to preserve, such as a deliberately harsh synth.
Once the mix is clean, live with it for a day. Fresh ears often reveal a vocal that is too quiet or a bass that is too heavy, and those are cheaper to fix before mastering than after.
Referencing and checking your work
A reference track is a finished record in a similar style that you trust. Level-match it to your master, then flip between the two and ask where yours differs in bass weight, brightness and width.
Do not try to copy the reference exactly. Use it to calibrate your ears, since a room or a pair of headphones can mislead you without something known to compare against.
Then test the master away from the studio:
- Play it through earbuds and a phone speaker to check the midrange.
- Listen in the car, where low-end problems show up quickly.
- Sum it to mono and confirm nothing important disappears.
- Play it after a favourite album to hear how it sits in a playlist.
If something fails on one system, adjust gently and test again. Small, repeated checks beat one dramatic correction.
Doing it yourself or using a specialist
Self-mastering is a good way to learn, and modern plugins make it accessible. Fresh ears matter, though, and a second opinion often catches problems you’ve stopped hearing.
Whichever route you choose, deliver the mix with headroom and without a limiter on the master bus. That leaves the mastering stage room to work.
If you master your own music, treat the process as a separate session. Change your monitoring level, reset your expectations and work from the exported file rather than the mix project, so you judge the track as a listener would.
If a friend or professional handles it, give them clear notes and reference tracks. Good communication about the sound you want saves rounds of revisions and keeps the final result close to your intent.
Frequently asked questions
Is mastering the same as mixing?
Show answer
No. Mixing balances the individual tracks within a song, while mastering treats the finished stereo file and prepares it for release.
What does LUFS measure?
Show answer
It measures perceived loudness. Integrated LUFS covers the whole song, which is the figure streaming normalization relies on.
Do I need to master to -14 LUFS for Spotify?
Show answer
Not necessarily. iZotope’s guide says no, because -14 LUFS is a playback reference and louder tracks are simply turned down.
Can mastering fix a bad mix?
Show answer
Only in small ways. Large balance or arrangement problems are best solved in the mix itself.