Staring at an empty session and wondering where to start? Music production is a chain of choices: idea, sounds, arrangement, mix, master. Take them one stage at a time and finish each before polishing.
| Item | Value |
|---|---|
| Common sample rates | 44.1 kHz and 48 kHz |
| Standard setting for most music production | 44.1 kHz at 24-bit |
| Rate often preferred for video | 48 kHz |
| Highest frequency a 44.1 kHz rate can record | 22.05 kHz |
| Minimum sample rate to cover a 20 kHz hearing limit | 40 kHz |
These figures come from iZotope’s digital audio basics guide. Recommendations can change, so check the source before you rely on them.
What music production actually covers
Music production is everything between a spark of an idea and a file someone can play. It includes writing, recording or programming, arranging, editing, mixing and mastering. Nobody does all of it perfectly on a first try, and you don’t need to.
It helps to think of the work as stages rather than one giant task. Each stage has a different question, and mixing questions are a poor fit for the moment you are still writing a melody.
- Idea: a chord loop, a drum groove, a lyric line or a sound that excites you.
- Sketch: a rough loop that proves the idea works.
- Arrangement: turning the loop into a full song with a beginning, middle and end.
- Sound selection and editing: choosing and shaping the sounds so they fit the song.
- Mixing: balancing everything so it sits together.
- Mastering: final preparation so the track plays well everywhere.
The rest of this guide walks through those stages in order, with pointers to deeper guides on this site. The site is independent and educational, and it is not connected to any brand or product it mentions.
Set up your tools before you write
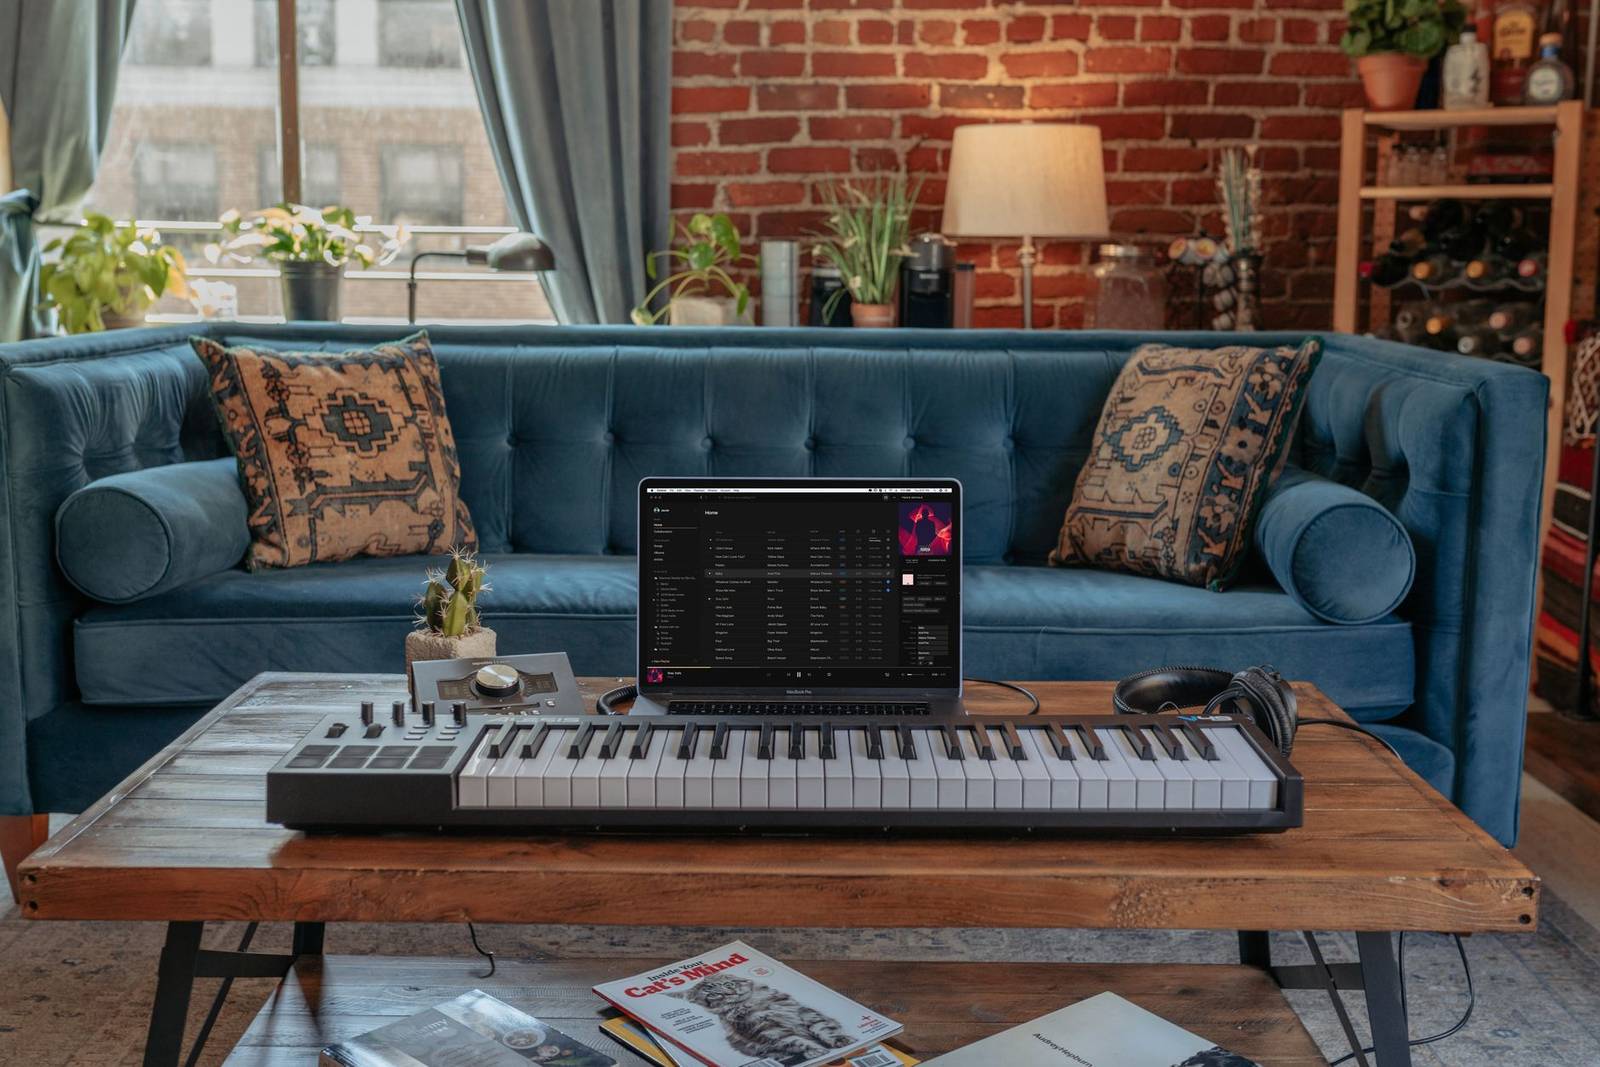
You need a computer, a digital audio workstation (DAW), a pair of headphones or monitors, and a quiet-enough place to listen. A home studio does not have to be elaborate, and a modest setup you know well beats a costly one you don’t.
Which DAW you pick matters less than sticking with it. Every major DAW can record audio, sequence MIDI, load instruments and export a finished file. Learn one properly, including its shortcuts, before you shop for another.
Choose a sample rate and bit depth once
Two settings shape the quality of your recordings: sample rate and bit depth. iZotope says common rates include 44.1 kHz and 48 kHz, and that for most music production, 44.1 kHz at 24-bit is standard. For video, it says 48 kHz is often preferred.
The reasoning is straightforward. If you accept that the upper limit of human hearing is 20 kHz, iZotope explains, you need a sample rate of at least twice that, or 40 kHz. A 44.1 kHz rate technically allows frequencies up to 22.05 kHz to be recorded, which leaves some room above 20 kHz so the filter does not have to be brutally sharp.
Bit depth works differently. iZotope explains that bit depth controls how finely sample amplitudes are represented. Recording at 24-bit provides room to keep recording levels conservative while keeping quantisation noise low.
Inside a DAW, many programs process audio internally in 32-bit floating point. iZotope notes that this format has a dynamic range of 1,528 dB, 770 dB of which are above 0 dBFS. In practice that means your software has huge internal headroom, though your converters, speakers and ears do not.
- Pick one sample rate at the start of a project and keep it.
- Record at 24-bit so you can keep levels modest without hiss.
- Choose 48 kHz when appropriate for your project; it is often preferred for video.
- Do not convert back and forth between rates mid-project.
Protect your hearing and your room
Your ears are the one tool you cannot replace. Keep monitoring levels moderate, take regular breaks, and check your mix at low volume as well as loud. Tired ears make poor decisions, and loud listening makes everything sound better than it is.
Room matters nearly as much as speakers. Untreated rooms add bass buildup and reflections that fool you into mixing the wrong way. Even basic measures, such as moving speakers away from walls and adding soft furnishings, help you hear more accurately.
Organise your project from day one
Messy sessions slow you down more than weak gear does. Name your tracks, colour-code groups such as drums, bass, chords and vocals, and save versions with clear names. When you return after a week away, you should be able to understand the session in seconds.
A template helps. Build one with your favourite routing, a few group buses, and a reference track already loaded. Starting from a template removes the dull setup work and keeps you in a creative mood.
- Create folders for samples, recordings, bounces and exports.
- Use consistent track names and colours.
- Back up finished projects to a second drive or cloud storage.
- Keep a short notes file for ideas and to-do items.
Start with the idea and the harmony
Most tracks begin with a hook, a rhythm or a chord loop. Don’t wait for the perfect idea: capture several rough ones and keep the one that makes you want to keep listening. A short loop that you like after many repeats is a good sign.
If you write with chords, learning chord progressions gives you a dependable toolkit. A few well-chosen chords, voiced well and played with a groove, can carry an entire song. Melody, bass line and rhythm can then be built around that foundation.
Ways to find a first idea
- Play a chord loop and hum over it until a melody appears.
- Start from a drum groove and add a bass line that locks to the kick.
- Pick a sound you love and write something that suits its character.
- Rework a reference track’s structure, not its notes, as a template.
Whatever route you choose, save the sketch quickly. Raw ideas are fragile, and spending an hour on a drum sound before the song exists is a common way to lose momentum.
Rhythm and bass come first
The groove is the part listeners feel before they notice anything else. Spend time on the relationship between the kick, the snare or clap, and the bass line. When those lock together, even simple chords and melodies feel confident.
Leave space in the rhythm. A busy drum pattern under a busy bass line leaves nowhere for the melody to live, so let some beats stay empty. Small variations, such as a ghost note or a shifted accent, keep a repeating groove alive.
Choose and shape your sounds
Sounds define genre and mood as much as notes do. You can build them from a synthesiser, layer samples, record real instruments, or combine all three. The craft of building and shaping them has its own field, covered in our guide to sound design.
A useful principle is to choose sounds that already fit before you reach for processing. A snare that suits the track needs far less EQ than one you are forcing into place. Time spent auditioning sounds is usually cheaper than time spent repairing them in the mix.
Give every sound a job
Each element should have a clear role: foundation, rhythm, harmony, melody or texture. When two sounds fight for the same role, one of them usually needs to change, drop out or move to a different register.
This thinking saves work later. Many mixing problems are really selection problems, such as two bass-heavy sounds occupying the same range, and no amount of processing will fully fix them.
Layering without mud
Layering can make a sound larger, but stacking too many similar layers creates mud. Give each layer its own purpose: one for the body, one for the attack, one for the air on top. If a layer cannot be heard on its own contribution, mute it.
Check layers in mono as well as stereo. Sounds that fight each other can cancel out, and the result is a thin, hollow tone that no EQ will rescue. A quick flip of the polarity or a small timing nudge often solves it.
Arrange the loop into a song
A loop that simply repeats is not yet a song. Arrangement is the art of change over time: adding and removing parts, building tension, and releasing it. Our guide to song arrangement covers structures such as verse, chorus and bridge in more depth.
The simplest tool is contrast. If the chorus should feel big, make the verse smaller. Remove the drums for a bar before a drop, thin the texture in a breakdown, and bring layers back one at a time.
A practical arrangement workflow
- Mark out sections on the timeline before filling them.
- Decide which elements play in each section.
- Add transitions: risers, fills, reverse sounds, short silences.
- Listen from the start to check the energy curve feels deliberate.
- Trim anything that does not earn its place.
Finishing a complete rough arrangement, even an ugly one, tells you what the song needs. Mixing a loop you never turned into a song is one of the most common ways producers get stuck.
Record, edit and set levels
If you record vocals or instruments, performance matters more than any plug-in. Get a good take at a sensible level, with a quiet room and the microphone placed sensibly. Comping the best parts of several takes is normal practice, not cheating.
Good levels from the start make every later step easier. Learning gain staging helps you avoid distortion, keep headroom and have plug-ins respond as they were designed to. The basic habit is to keep signals healthy but never hitting the ceiling.
Editing before mixing
Tidy edits make mixing quicker. Remove clicks, fix timing where it hurts the feel, fade clip edges and delete noise between phrases. Keep imperfections that give the performance life, because a perfectly quantised performance can sound lifeless.
Using references wisely
A reference track is a finished song you admire in a similar style. Drop it into your session and compare balance, brightness, bass weight and width as you work. It keeps your judgment honest when your ears have adapted to your own material.
Use references to learn, not to copy. Notice how the vocal sits, how much low end there is, and how the song changes between sections. Then ask what your own track needs, which may be quite different.
Mix: make everything fit together
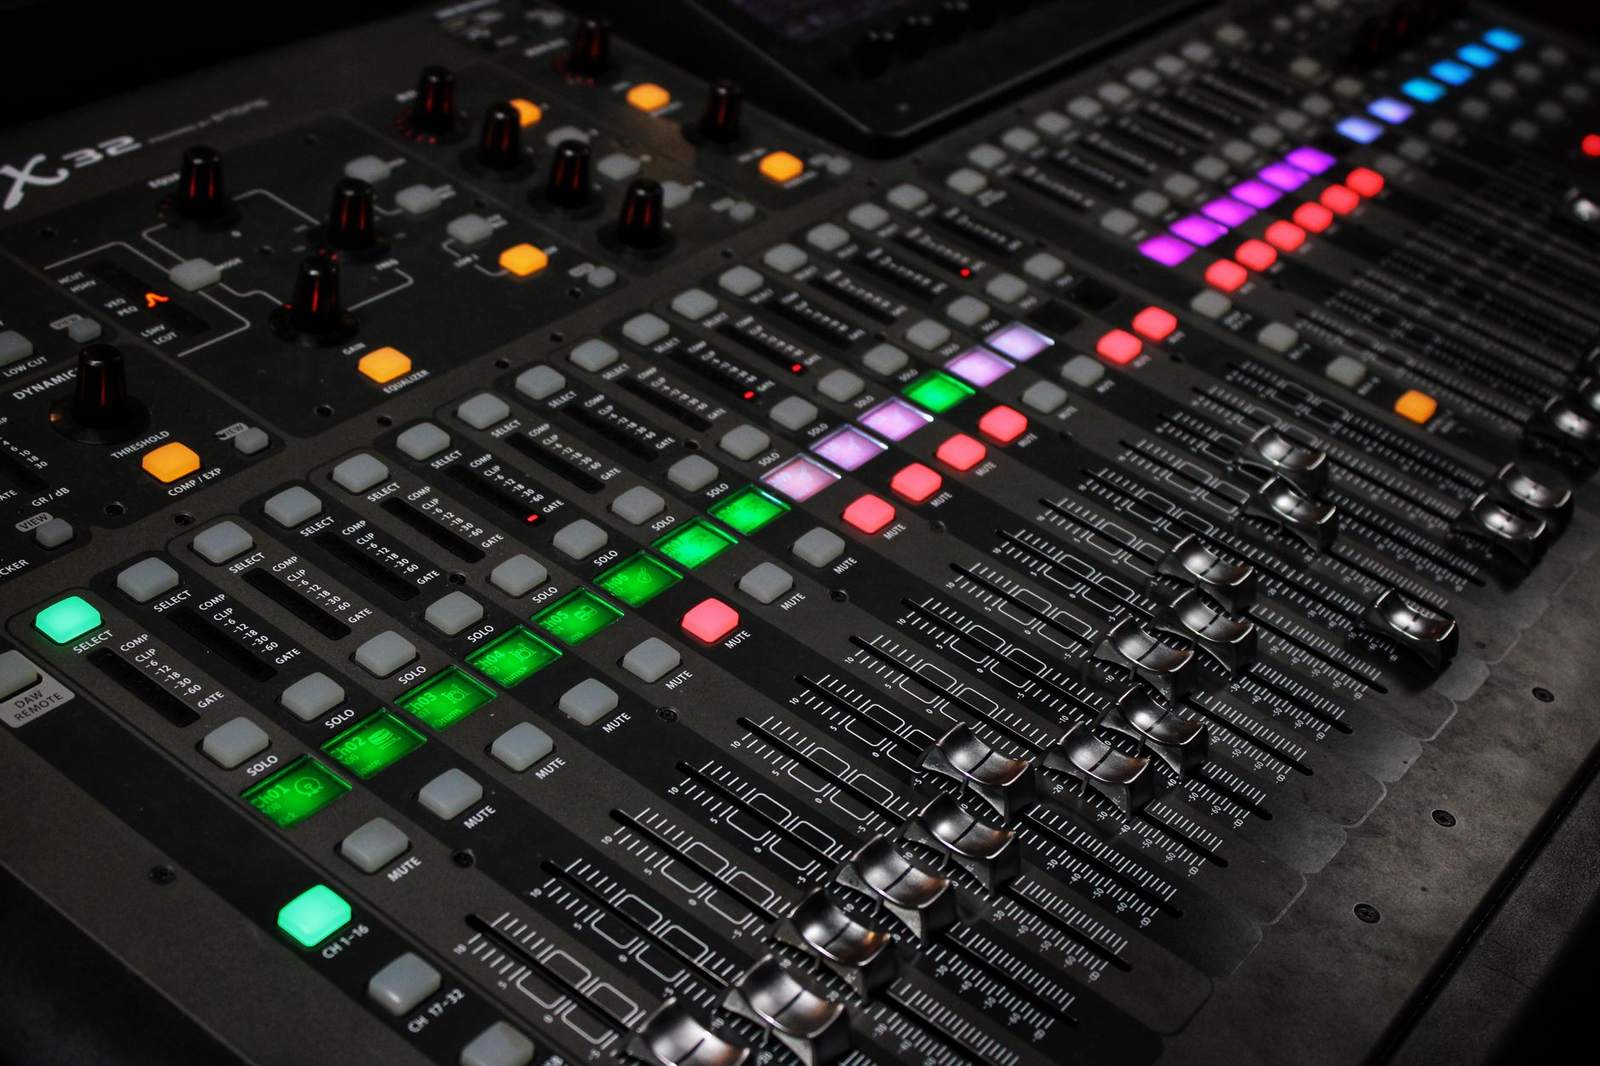
The mix is where separate parts become one track. The core job is balance: level, panning, tone and space. If you want the full picture, our mixing guide covers the process end to end.
Start with levels and panning before reaching for effects. A rough balance with no plug-ins often reveals what the song really needs. Only then should you add processing to fix specific problems or to shape the character.
The three tools you will use most
- EQ shapes tone and carves space between instruments. See how to use EQ in our guide on how to use eq.
- Compression controls dynamics and adds consistency. Our guide on how to use a compressor explains the controls.
- Reverb and delay place sounds in a space and add depth.
Once those are comfortable, a technique like sidechain compression lets one sound duck another, which is how many producers make room for a kick under a bass or let a vocal breathe over pads.
Mix habits that save time
- Work on a balanced rough mix before detailed edits.
- Subtract before you add: cut clashing frequencies before boosting.
- Compare against a reference track at matched loudness.
- Take breaks and return with fresh ears.
- Check the mix on headphones, speakers and a phone.
Matching loudness during comparison is vital, because louder almost always sounds better to the ear. If you skip this, you may chase volume instead of quality.
Common mixing mistakes
Beginners often reach for processing too soon and too heavily. Heavy EQ boosts, stacked compressors and extreme reverb can make a mix sound impressive in isolation while hurting the whole.
- Soloing tracks for too long instead of judging them in context.
- Pushing everything loud until the mix has no contrast.
- Ignoring the low end, which is where most translation problems live.
- Adding effects to hide a weak performance or sound choice.
- Never taking a break, so small flaws become impossible to hear.
The fix is usually simpler than expected: go back to balance, listen at a lower volume, and ask what the song is trying to say.
Master and release
Mastering is the final polish and quality check before release. It evens out tonal balance, adjusts overall loudness, and makes sure the track translates across playback systems. Our guide to mastering goes into the details.
A good master depends on a good mix. If the balance is wrong, mastering can only do so much, so fix problems in the mix and leave headroom for the final stage. Streaming services have their own loudness handling, so check each platform’s current artist guidance rather than assuming one target fits everywhere.
Final checks before you export
- Listen to the whole track once without touching anything.
- Check the start and end for clicks, cut-offs and abrupt tails.
- Test in mono to catch phase problems.
- Export a lossless file and keep a backup of the project.
When reducing bit depth for export, dither introduces a small amount of noise to prevent correlated quantisation errors, as iZotope explains. Apply it once, as the very last step.
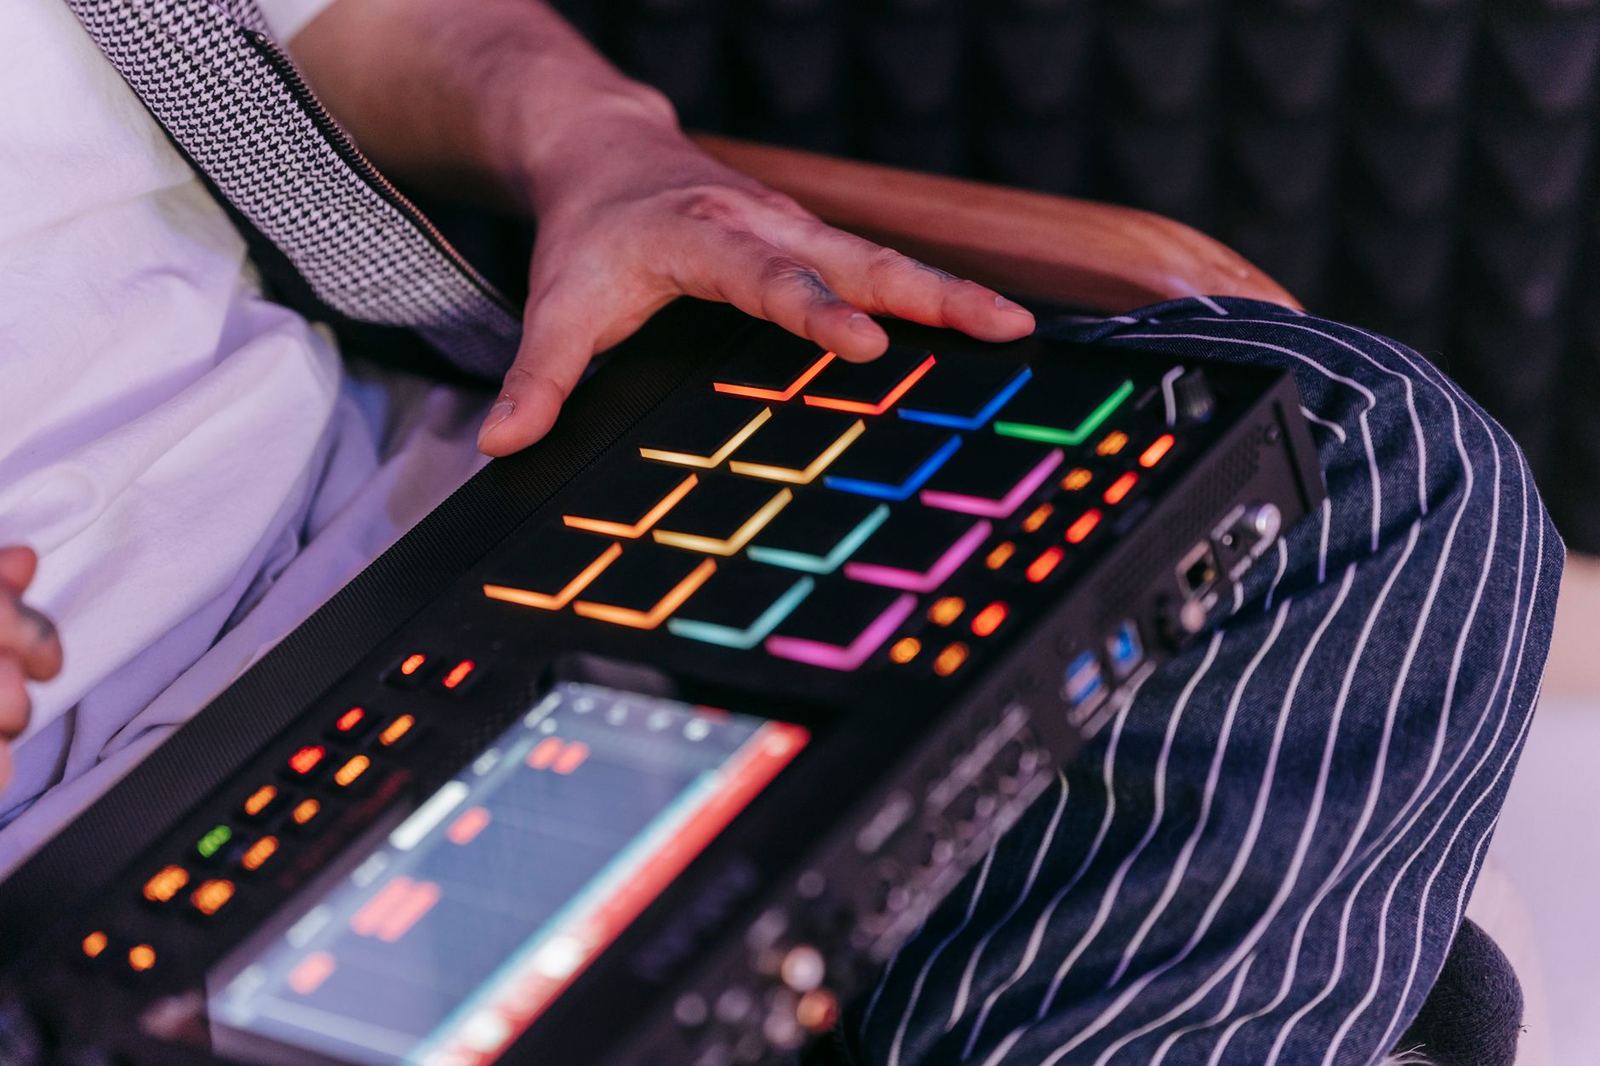
A simple plan for finishing more tracks
Unfinished projects pile up when you chase perfection at every stage. A better approach is to move through all the stages quickly with rough results, then return to improve the weakest part. A finished average track teaches you more than a perfect short loop.
- Set a time limit for each stage so you keep moving.
- Limit your sound palette for each song.
- Save versions regularly so you can experiment safely.
- Finish, export, listen elsewhere, then make a short list of fixes.
Over time, you will find which stage is your strength and which one needs practice. Use the deeper guides above to target that weak spot, and let each finished track raise your standard.
Frequently asked questions
What sample rate and bit depth should I use?
Show answer
iZotope says that for most music production, 44.1 kHz at 24-bit is standard, while 48 kHz is often preferred for video. Settle the choice before you record anything, and avoid changing it midway.
Do I need expensive gear to start?
Show answer
No. A computer, a DAW, decent headphones and a quiet space are enough to make finished tracks. Learn the tools you have thoroughly before you upgrade.
Should I mix and master my own music?
Show answer
You can, and doing so teaches you a lot. Fresh ears, reference tracks and listening on several systems help you judge your own work more fairly.
Where should a beginner start?
Show answer
Make a short sketch, arrange it into a complete song, then do a basic mix. Going through every stage once, even roughly, builds more skill than perfecting a single stage.