Building a home studio can feel like a maze of gear lists. You need far less than you think: a computer, a DAW, an interface, a way to hear accurately, and a room you have tamed.
| Item | Key fact |
|---|---|
| Sound level unlikely to harm hearing | At or below 70 dBA, even after long exposure |
| Level where hearing loss can begin | Long or repeated exposure at or above 85 dBA |
| Monitor layout | Equilateral triangle: two monitors and the listener |
| Ear position against monitors | Ears roughly at tweeter height |
| Original MIDI connection | 5-Pin DIN cable |
| Most widely used MIDI transport today | USB |
Figures come from NIDCD and MIDI.org. Guidance can change, so check those pages before you rely on the figures.
What a home studio really is
A home studio is any space where you can record, program and mix music with decisions you can trust. It can be a bedroom desk, a spare room or a corner of a living room. What defines it is not the price of the gear but how reliably you can hear what you are doing.
Most beginners start by buying what looks exciting: a synth, a pile of plugins, a shiny microphone. Experienced producers tend to say the opposite. Spend first on the things that affect every single track you make, which are your monitoring, your room and your workflow.
The core of any setup follows the same chain of five links:
- Computer: runs your software and stores your projects.
- DAW: the software where you record, arrange and mix.
- Audio interface: converts sound between analogue and digital and gives you proper inputs and outputs.
- Monitors and headphones: let you judge the sound.
- Room: shapes what reaches your ears.
Everything else, from controllers to outboard gear, is an addition to that chain. If one link is weak, the others cannot rescue it. A superb interface feeding poor speakers in a boomy room still produces misleading mixes.
This guide is the hub for the topic. It covers each link briefly and points to deeper guides, so you can decide where to put your money and your time first. If your interest leans toward making new sounds, our guide to sound design covers that craft, and the wider craft of finishing tracks sits under music production.
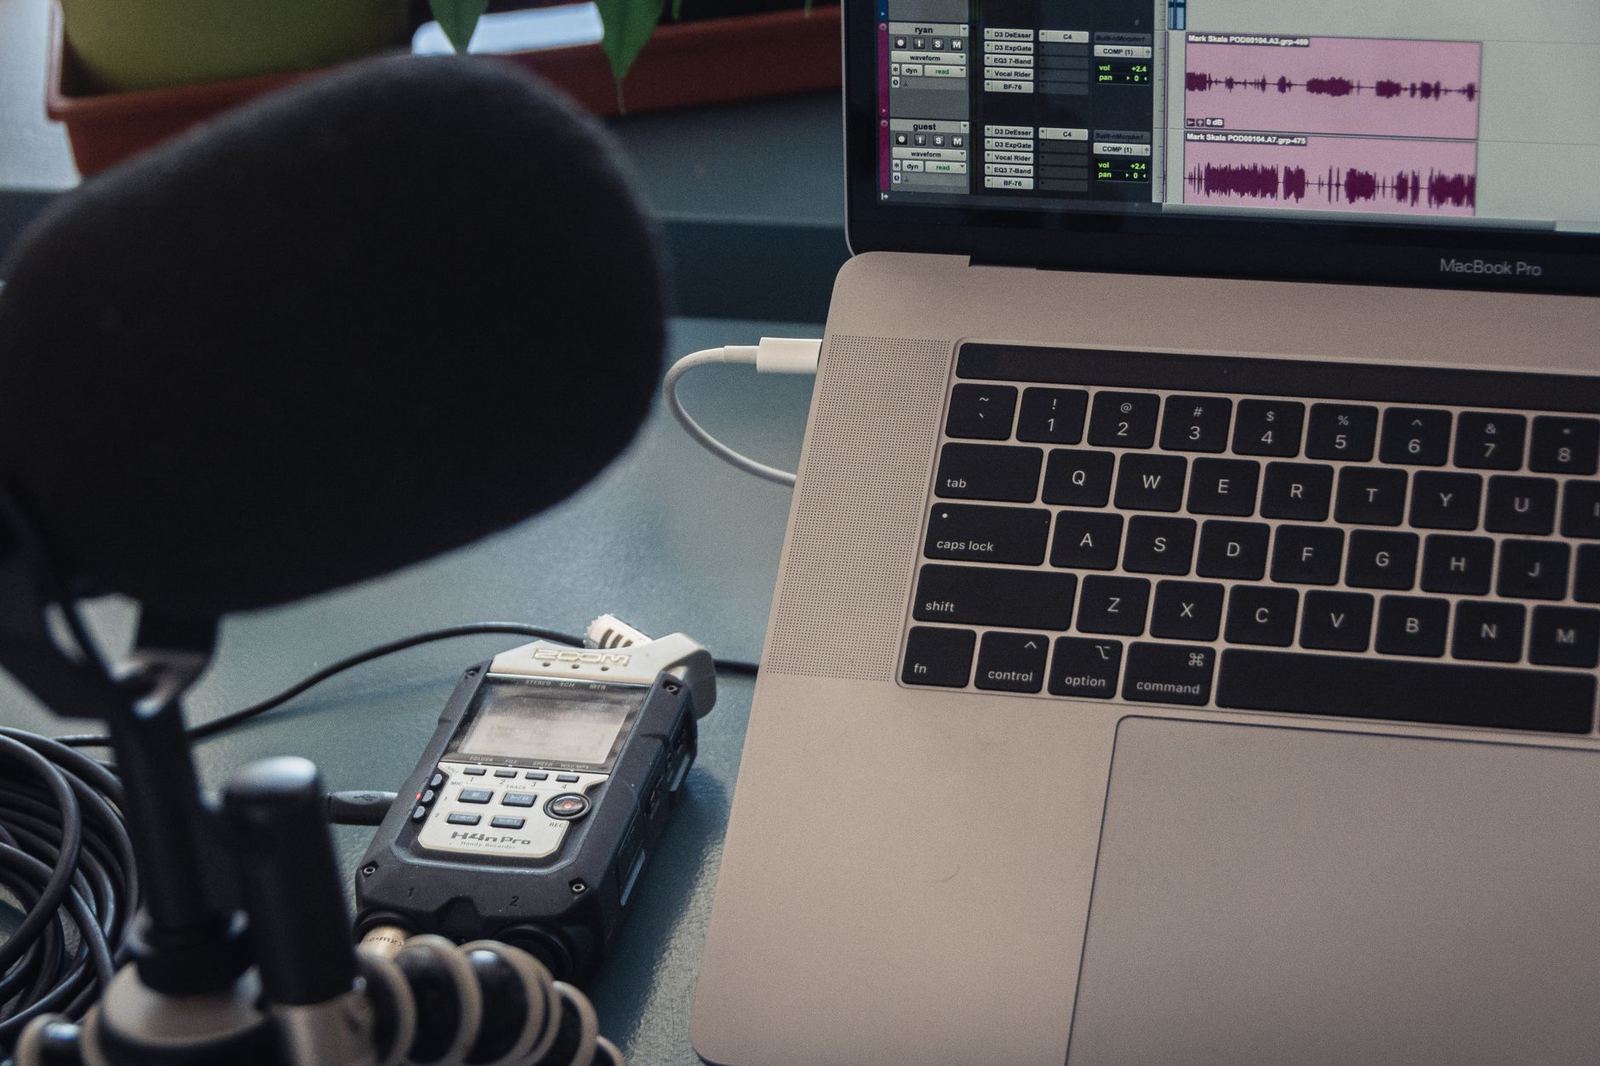
The computer, the DAW and the interface
Your computer
Any reasonably modern laptop or desktop can run a small to mid-sized project. What matters more than raw speed is stability: enough memory, a fast internal drive, and as few background programs as possible. A quiet machine also helps, because fan noise leaks into microphones and distracts you while you listen.
Laptops are convenient and let you move between rooms. Desktops give you more power for the money and easier upgrades. Either works, so choose the one that fits how you live.
Choosing a DAW
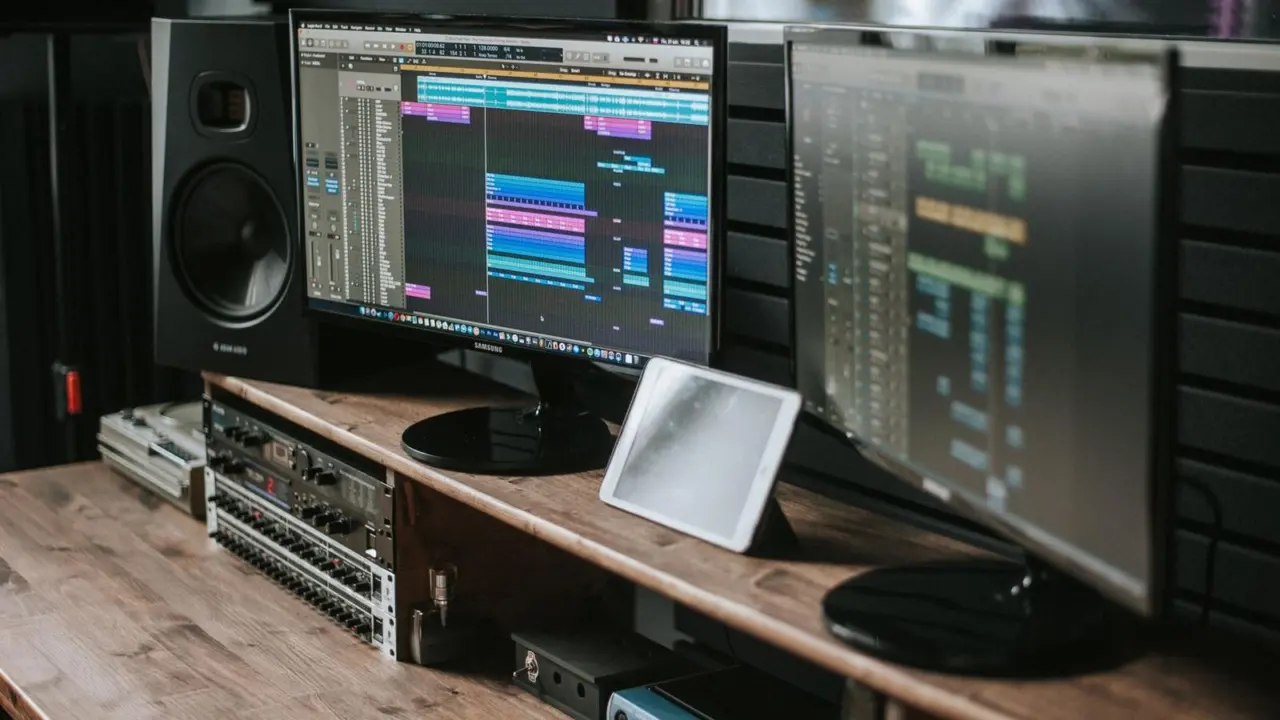
The daw is the centre of your studio. It records audio, sequences MIDI, hosts instruments and effects, and lets you arrange and mix. Almost every major DAW can finish a professional-sounding record, so differences come down to workflow, bundled sounds and how the layout suits your brain.
If you are new, a free trial is the best test. Spend a week building a simple loop in each candidate before you pay. Our pick list for newcomers, the best daw for beginners, explains what to look for in a first program.
When comparing, ask yourself these questions:
- Does it run smoothly on the computer you already own?
- Do you find recording and editing audio easy to learn?
- Does it include instruments and effects you will really use?
- Are there plenty of tutorials for the style of music you make?
The audio interface
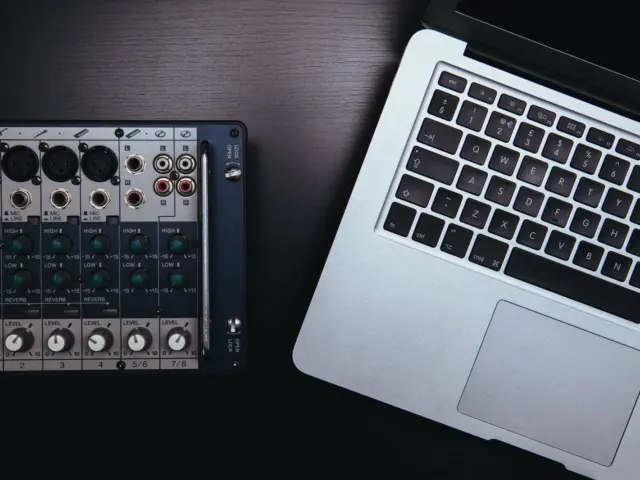
The simplest audio interfaces are boxes that connect microphones, instruments and speakers to your computer. They replace the weak built-in sound card with better converters, quieter preamps and a headphone output you can control. For most home producers, two inputs and two outputs are plenty.
Check these points before you choose one:
- Inputs: count how many sources you need to record at once. A solo producer rarely needs more than two.
- Outputs: you need a balanced pair for your speakers and a headphone socket.
- Connection: USB is the common choice and works on most computers.
- Drivers: confirm support for your operating system before buying.
- Latency: good drivers keep the delay between playing and hearing low, which matters when you record live parts.
Buying a bigger interface than you need is a common trap. Extra inputs are useful when you need to record more sources at once. Check expansion options before buying.
Monitoring: speakers, headphones and your ears
You cannot mix what you cannot hear. Monitoring is the area where a modest budget goes furthest, because the difference between hype-heavy consumer speakers and honest studio ones changes every decision you make.
Studio monitors
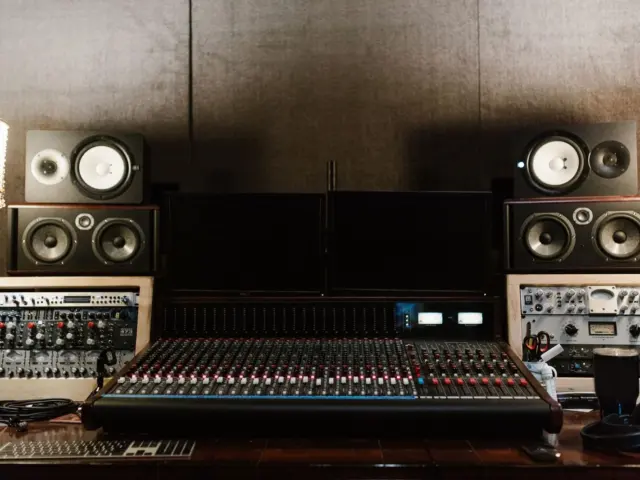
A pair of studio monitors is designed to sound neutral rather than flattering. That honesty exposes problems in your mix, so the track still works on earbuds, in a car and on a club system. Most home users choose powered nearfield monitors, which have built-in amplifiers and are made to be listened to from a short distance.
Bigger is not always better in a small room. Room acoustics and speaker placement can make bass uneven, particularly with monitors that extend further into the low frequencies. A smaller monitor in a treated room often beats a bigger one in an untreated room.
Studio headphones
Good studio headphones are the best first purchase if your room is poor, or if you live with neighbours or family. They take the room out of the equation, which makes them excellent for detail work such as clicks, reverb tails and noise. Open-back models usually sound more natural for mixing, while closed-back models isolate better for recording.
Headphones have their own limits. They exaggerate the stereo image and can mislead you about bass. Most producers check a mix on both speakers and headphones, then on a few other devices.
Protect your hearing
Protecting your hearing matters throughout your work in the studio. According to NIDCD, the risk of hearing loss is low with prolonged exposure to sound levels no higher than 70 dBA. NIDCD identifies repeated or prolonged exposure to noise measuring 85 dBA or higher as a hearing-loss risk.
The practical lessons are simple:
- Mix at a moderate volume most of the time, and turn up only briefly to check low end.
- Take regular breaks, because tired ears judge badly as well as being at risk.
- Treat ringing or buzzing as a warning sign. NIDCD also links loud-noise exposure to tinnitus.
- Wear protection at loud rehearsals and gigs, not just in the studio.
Quiet mixing also gives better results. Your ears judge balance more accurately at a consistent, moderate level, and you notice problems earlier.
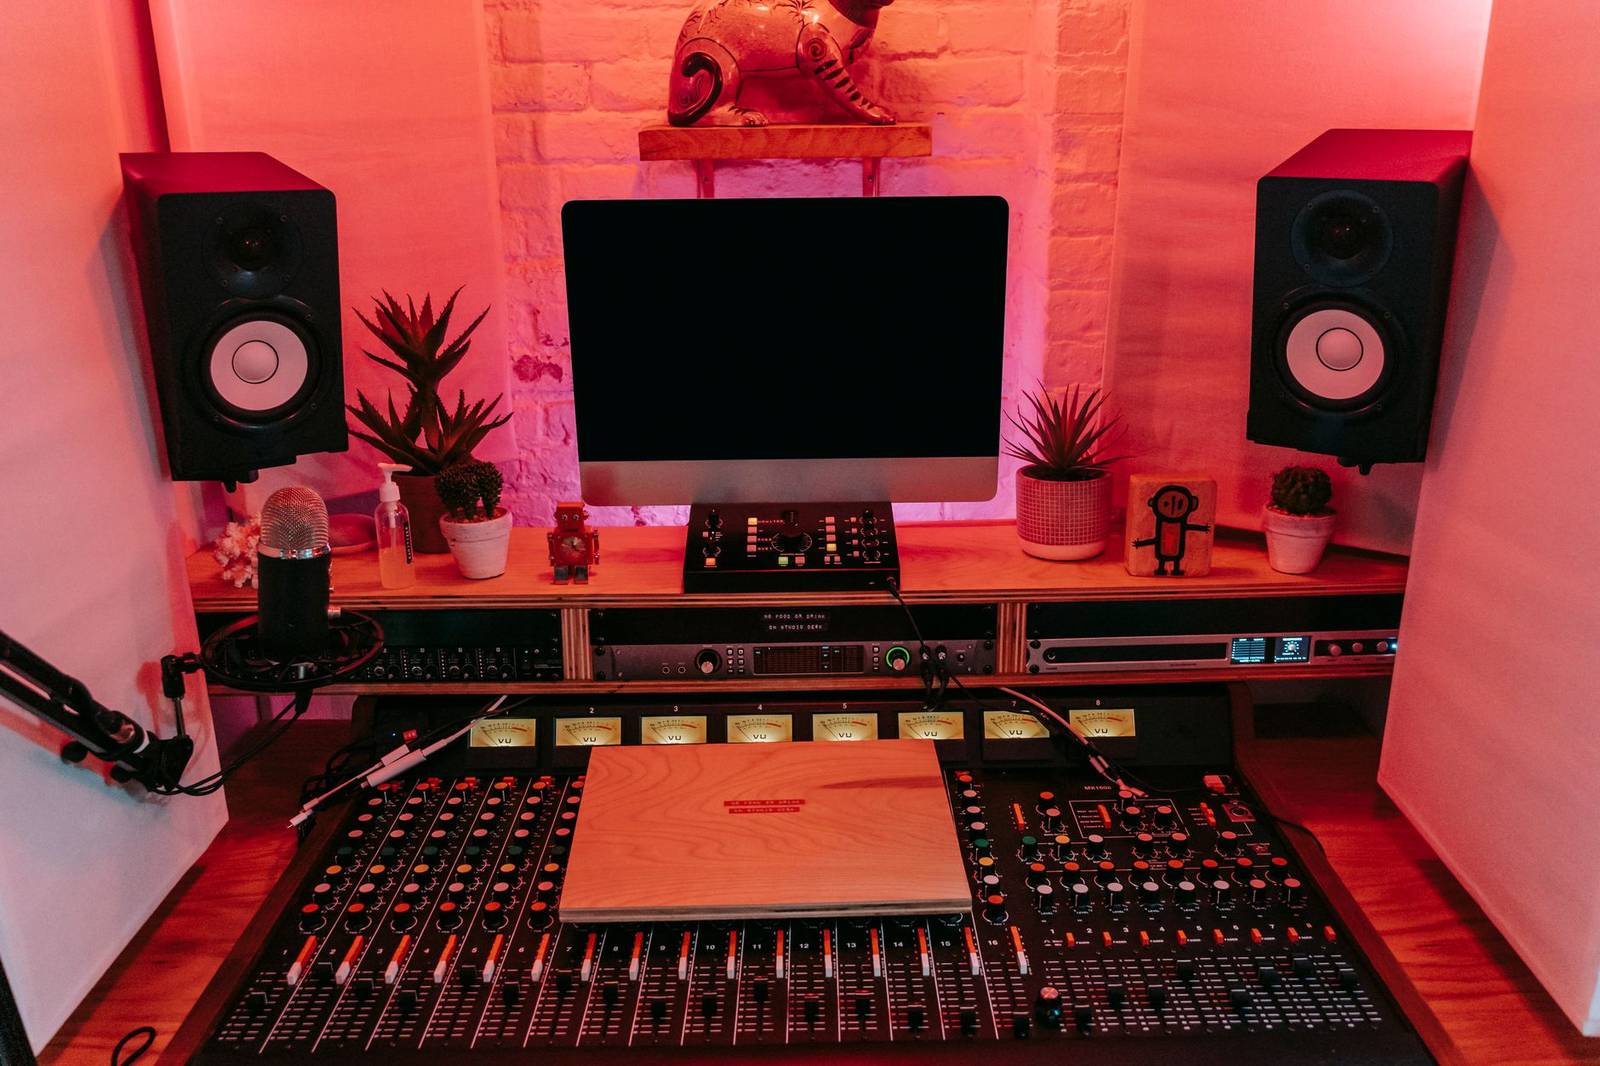
Your room: placement and treatment
Your room is the final link in the chain, and in a home setting it is often the weakest. Hard walls, a bare floor and a desk against one wall all bounce sound around until you hear the room as much as the music. You can fix much of this cheaply, before you spend anything on better speakers.
Getting the monitor placement right
Correct studio monitor placement costs nothing and improves everything. MusicRadar’s guide, last updated 26 October 2022, recommends equal distances between the speakers and from each speaker to the listener. It also recommends keeping the speakers upright, aiming them toward your listening position and placing their tweeters near ear level. The guide is on MusicRadar.
Follow these steps for a first setup:
- Choose the wall you will face, and sit centred so the room is as symmetrical as you can make it.
- Place the monitors left and right of you so that the distance between them matches the distance from each one to your head.
- Raise or lower them until the tweeters sit near ear level.
- Aim them straight at your head.
- Move the whole arrangement slightly forward or back and listen for the position where the bass sounds most even.
The same guide notes that tall stands can be impractical beside a typical desk. When full stands are not an option, it suggests mounting monitors on the desktop using isolation or decoupling platforms, or isolating feet, so the desk does not vibrate along with the speakers.
Acoustic treatment on a budget
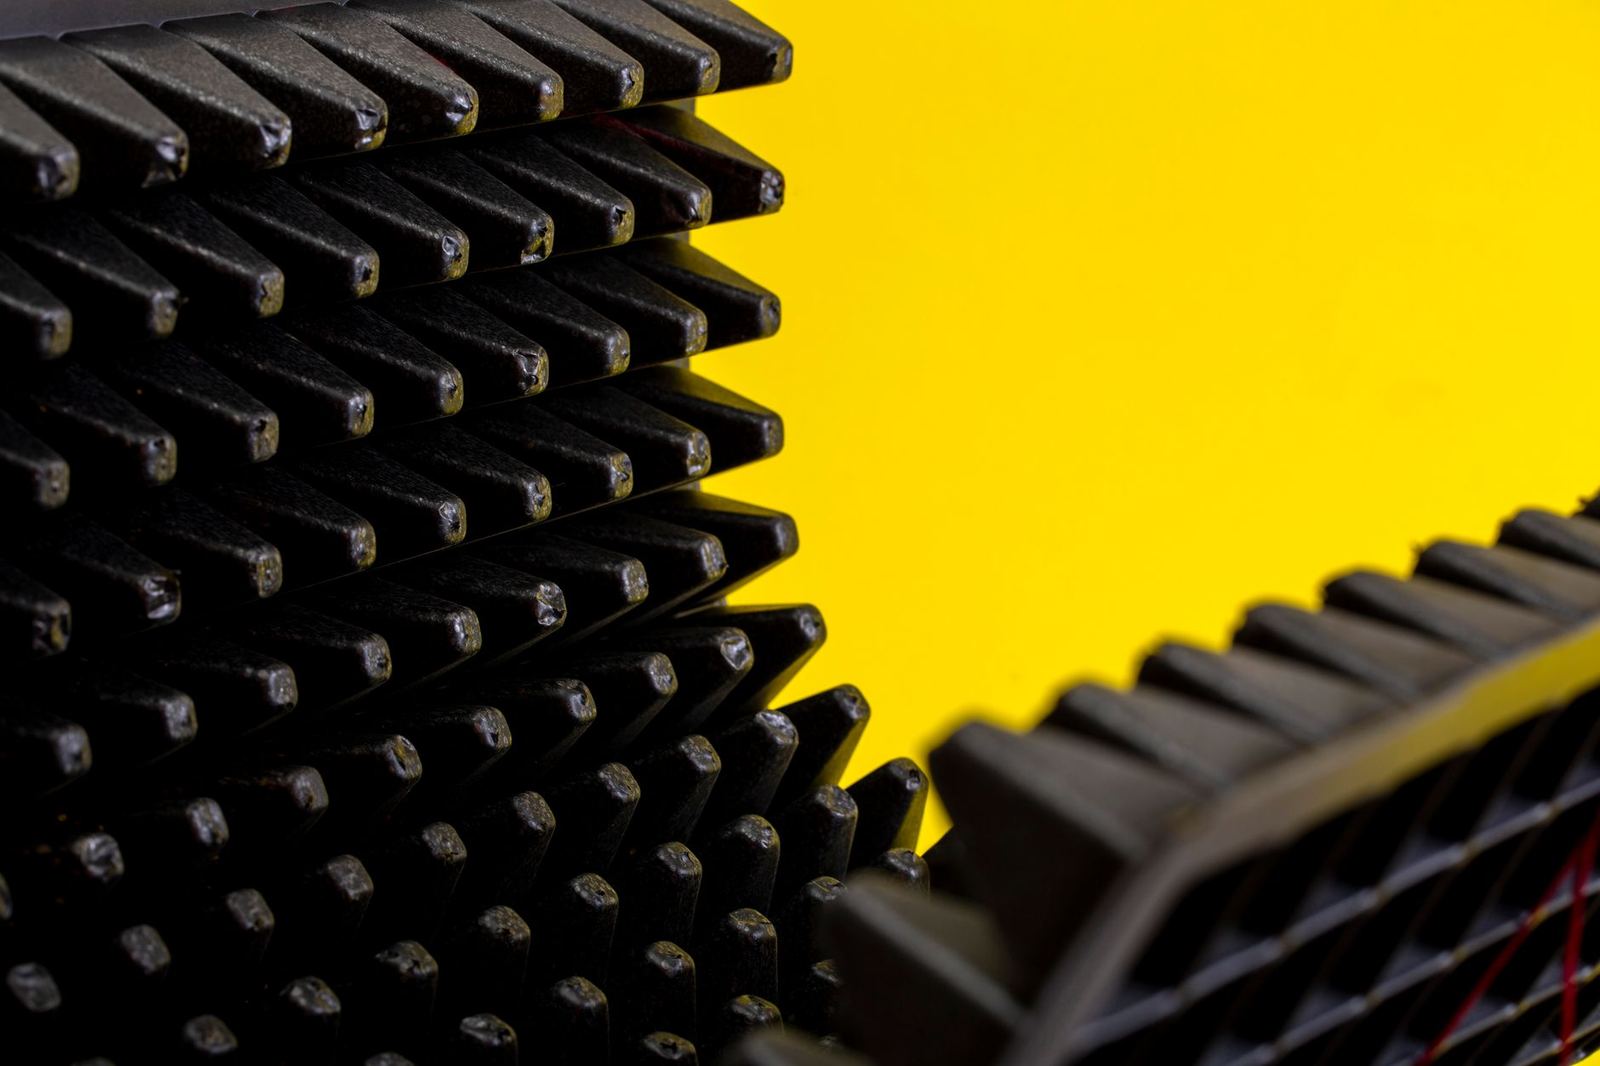
Sound arriving straight from the speakers is only part of what you hear. The rest bounces off walls, ceiling and floor and arrives slightly late, smearing detail and exaggerating certain bass notes. Acoustic treatment reduces those reflections so the speakers tell you the truth.
MusicRadar recommends addressing room acoustics with bass trapping, broadband absorption and diffusion. A sensible order for a small room looks like this:
- First reflection points: place absorbent panels on the side walls where sound from each speaker first bounces toward you.
- Corners: bass traps tame the buildup of low frequencies where walls meet.
- Behind you: thick absorption can reduce rear-wall reflections; diffusion scatters them.
- Soft furnishings: a rug, curtains and a bookshelf all help, though they do not replace purpose-built panels.
Treatment is not soundproofing. It improves how the room sounds inside, but it will not keep a drum kit from reaching the neighbours. If noise leaving the room is your issue, that is a separate problem needing mass and sealing, not foam.
Controllers, MIDI and creative tools
Once you can hear properly, you can add tools to make the process faster and more fun. A keyboard or pad controller is the most common first addition, because clicking notes with a mouse becomes tiring quickly.
MIDI controllers
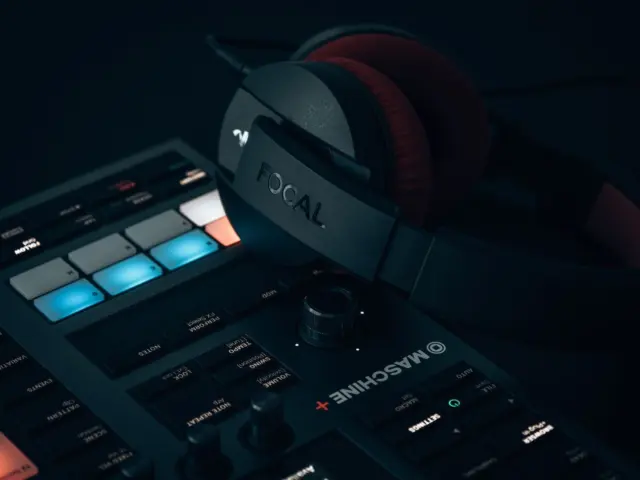
A midi controller does not make sound itself. It sends performance information such as which note you pressed and how hard, and your software turns that into sound. That means one controller can play any instrument in your DAW, from a piano to a wild synth patch.
Choose by the way you work:
- Keyboard: best for melodies, chords and bass lines. Pick the key count that fits your desk and your playing.
- Pads: best for drums, samples and finger-drumming beats.
- Knobs and faders: best for automating filters, effects and volume by hand.
Many controllers combine all three. Check that the keys and pads feel good under your hands, because that matters more than a long feature list.
How MIDI connects
MIDI.org describes five-pin DIN as the connection specified for original MIDI 1.0 devices and explains that MIDI now supports several transport types. The same source says USB is the most widely used transport for MIDI data, which is why most modern controllers plug straight into your computer with a single cable. Details are on MIDI.org.
Older hardware synths and drum machines may still use the classic five-pin sockets. If you own that kind of gear, your interface or a small standalone adapter can bridge it to your computer.
Microphones and other extras
A single versatile microphone, a stand and a pop filter are enough to record vocals, acoustic guitar and found sounds. Sound makers often grab a handheld recorder for field recordings, which is a rich source of material for textures and effects. Buy these after the essentials, not before.
A sensible order to buy and build
The order you buy things matters more than the brands. A good rule is to spend on what you will use in every session, and delay anything you would use only occasionally.
Here is a practical sequence:
- Use what you have. Start with your current computer and a free or trial DAW. Learn the basics before you spend.
- Get headphones. A decent pair of studio headphones gives you reliable monitoring at once.
- Add an interface. Pick a simple two-in, two-out model with good drivers.
- Add monitors. Choose a compact pair sized to your room, and place them properly.
- Treat the room. Start with first reflections and corners, then adjust by ear.
- Add a controller. Choose keys, pads or both based on how you actually write.
- Fill gaps. Add a microphone, a second screen or a better desk only when a real need appears.
Keep your desk tidy and your cables labelled. A comfortable chair, a monitor stand at the right height and good lighting do more for long sessions than another plugin bundle.
Mistakes that waste money
- Buying expensive monitors for an untreated room.
- Collecting plugins before you finish tracks with the stock ones.
- Chasing a bigger interface than your recording really needs.
- Placing speakers in a corner or flat on a desk with no isolation.
- Mixing loudly for long periods and trusting tired ears.
Cables and power deserve a thought too. Balanced cables from interface to speakers keep hum down, and a decent power strip keeps your gear tidy and switchable from one place. Label each lead at both ends so you can trace a fault in seconds rather than minutes.
Plan for growth without buying for it. Leave room on the desk for a controller you may add later, and keep a clear path to the back of the speakers. A studio that is easy to reorganise is one you will keep improving, instead of one you abandon after the first rush of enthusiasm.
Finishing songs teaches more than shopping does. Set small goals, such as one complete loop a week, and let real problems tell you which piece of gear to improve next.
Frequently asked questions
What do I need to start a home studio?
Show answer
You need a computer, a DAW, headphones and, if you want to record microphones or instruments, an audio interface. Speakers, treatment and a controller can follow once you know what limits your work.
Do I need studio monitors, or are headphones enough?
Show answer
Headphones are enough to start, especially in a noisy or shared space. Monitors help you judge stereo width and bass, but they only pay off if the room and placement are sound. Most producers end up using both.
Is acoustic treatment really necessary?
Show answer
Treatment is one of the most effective upgrades, because the room affects every mix you make. Even a few absorbent panels at the first reflection points and bass traps in the corners make the speakers more trustworthy.
How loud is safe when I work?
Show answer
NIDCD says sounds at or below 70 dBA are unlikely to cause hearing loss even after long exposure, while long or repeated exposure at or above 85 dBA can. Keep your usual listening level moderate and take breaks.
Do I need a MIDI controller?
Show answer
No, you can draw notes with a mouse. A controller speeds up writing melodies and drums and makes music feel more like playing, so it is a popular early addition once the basics are in place.