Staring at a wall of knobs and keys and not sure what to buy? A midi controller sends playing and control data to your software, so pick keys for melodies, pads for drums, and faders for mixing.
This guide is part of our home studio series on building a practical workspace.
| Item | Value |
|---|---|
| Keyboard controller key range | 25 to a full 88 keys |
| Novation Launchkey 49 controls | 16 pads, 8 knobs, 9 faders |
| Nektar Impact LX61 controls | 8 pads, 8 knobs, 8 faders |
| Nektar Impact LX key sizes | 25, 49, 61 and 88 keys |
| Typical connection today | USB, after traditional 5-pin MIDI DIN cables |
Figures come from Berklee Online’s overview of MIDI controllers. Product specs change between models and revisions, so check the source and the maker’s page before you rely on them.
What a MIDI controller actually does
A controller makes no sound by itself. It sends instructions to a computer or synth, and those instructions cover which notes are played, when they start and end, and how hard they were struck.
Your software then decides what to do with that data. The same keyboard can play a piano, a bass patch or a string section, depending on the instrument you load.
That is why a controller is often the first hardware purchase in a small studio. It turns a mouse-driven session into something you can play with your hands.
Keys: the all-rounder
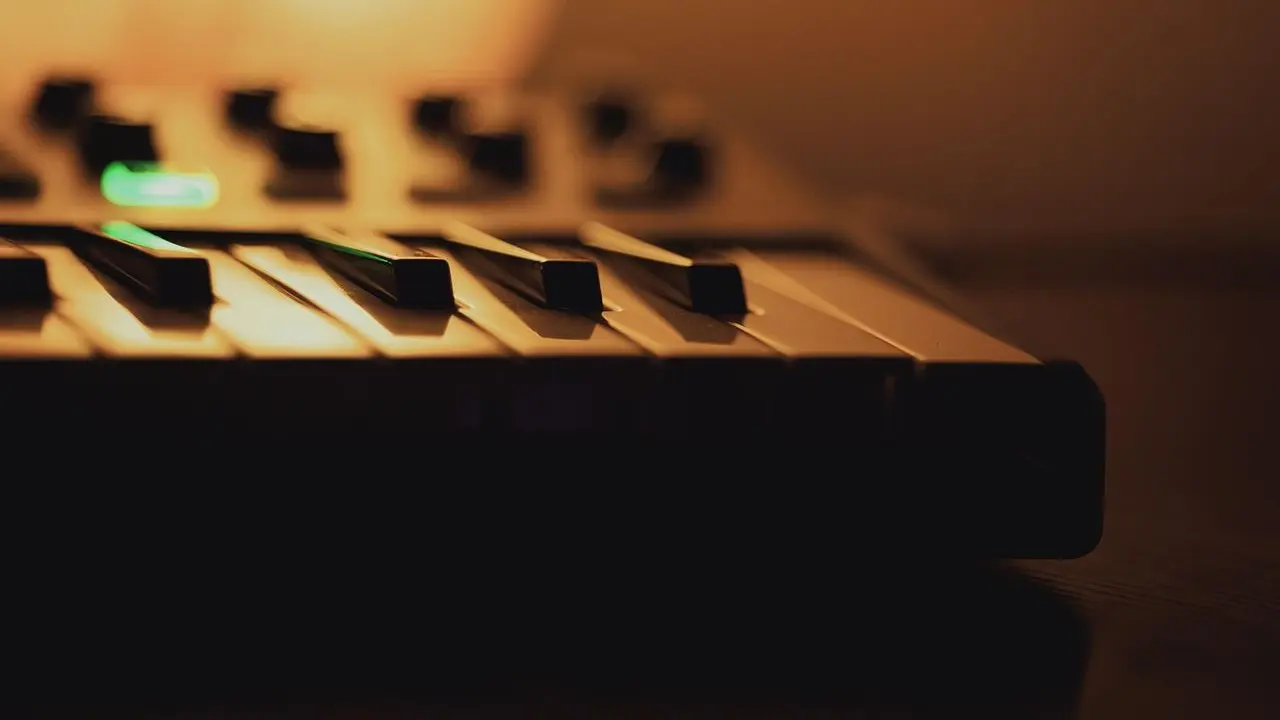
Keyboard controllers are the most familiar type. They have a piano-style keyboard, and Berklee Online says the range runs from 25 keys up to a full 88 keys.
Many also add faders, pads or knobs, so one box can cover several jobs. That is why a keyboard is the safest first choice if you are unsure.
What to check before buying keys
- Size: small boards save desk space, but larger ones make two-handed parts easier.
- Key action: weighted keys feel like a piano; lighter keys suit synth sounds.
- Aftertouch: not every model has it, so verify before you buy if you want it.
- Extra controls: pads, knobs and faders on the board save mouse work.
Berklee Online notes that features such as weighted keys or aftertouch may not be found on all keyboard controllers. Entry-level boards often skip them while still offering plenty of knobs, faders and pads.
Pads: for drums and triggering
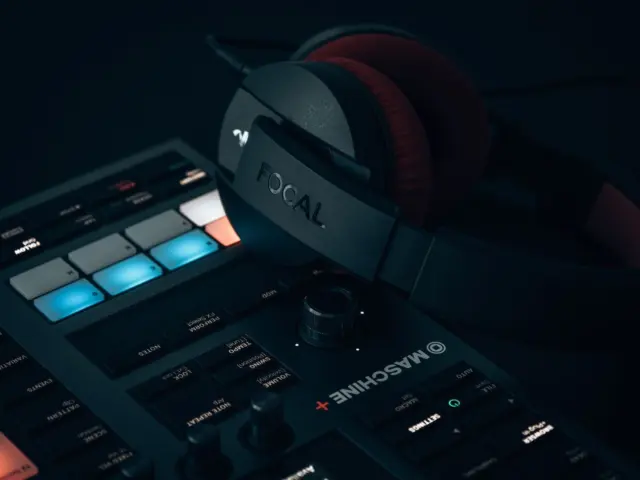
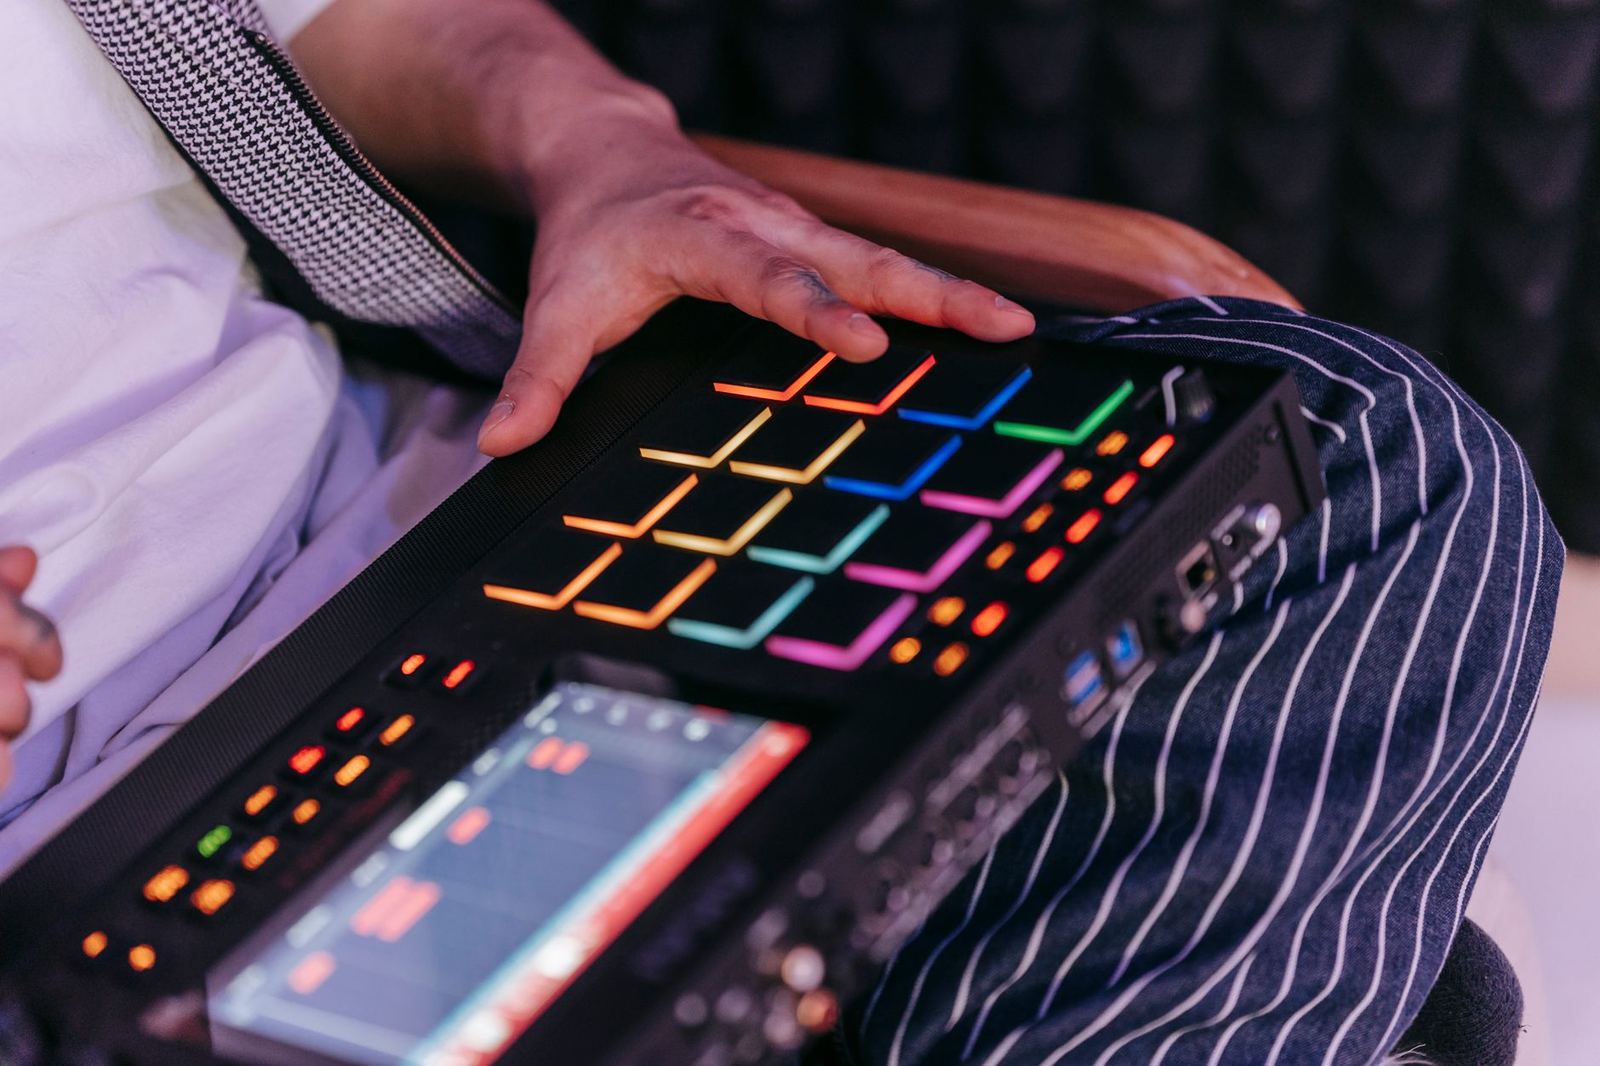
Pad controllers are built around a grid of pads. They are most often used to play drum or percussion parts, but they can enter any kind of note.
If your music is beat-based, a pad controller is usually quicker than clicking drum hits into a piano roll. Velocity-sensitive pads respond to how hard you tap, which gives programmed drums a more human feel.
Pads also work for triggering samples, one-shots and clips. Some models use pads to control notes, a step sequencer, or a software’s clip view.
The trade-off is melody. Playing a bass line or chords on a pad grid is possible, but it is awkward compared with keys.
Faders and knobs: hands-on mixing
Faders and knobs send continuous values rather than notes. They are the controls to reach for when you want to ride a volume, open a filter or blend an effect while the track plays.
Dedicated control surfaces are banks of these controls, with no keys at all. They suit mixing and automation work more than writing.
For most beginners, a keyboard with a few faders and knobs is enough. A separate fader unit makes sense once your mixes grow large and mouse automation slows you down.
Comparing popular layouts
Berklee Online lists several keyboard models that show how the mix of controls varies. Here is how two entry-level examples compare.
- Novation Launchkey: available in 25, 37, 49, 61 and 88 key models, with 16 RGB backlit velocity-sensitive pads, 8 knobs and 9 faders.
- Nektar Impact LX: available in 25, 49, 61 key models, with transport controls, 8 knobs, 8 faders and 8 velocity-sensitive pads. The faders are not included on the 25-key version.
Both give you a little of everything. The difference is mostly pad count and how well each fits your software.
Connections, software and your setup
Data once travelled over 5-pin MIDI DIN cables. Today it is frequently sent over USB, so a controller can plug into a computer without extra hardware.
Some controllers are geared toward a particular DAW, so consider your software before buying. If you are still choosing one, our guide to the best daw for beginners is a good place to start.
Once your controller is playing software instruments, a good monitoring chain matters too. Our studio headphones guide covers what to listen on while you practise at night.
How to choose for your own music
Start from what you do most, not from a feature list. Write down the three things you want to do with your hands: play parts, tap beats, or shape sounds.
If you mostly play melodies and chords, keys come first and everything else is a bonus. If you build tracks from loops and drums, a pad grid deserves the biggest share of your budget.
If you tweak synths for hours, look for plenty of knobs that map cleanly to your software. A controller that you can learn quickly gets used; one that fights your workflow ends up in a cupboard.
A quick decision guide
- Play melodies and chords: a keyboard controller with a key range that suits your hands.
- Program drums and trigger samples: a pad controller, or a keyboard with a good set of pads.
- Mix and automate: a control surface with faders, once your projects justify it.
- Do a bit of everything: a mid-sized keyboard with pads, knobs and faders built in.
Common mistakes to avoid
The most frequent error is buying more than you need. A large board with a crowd of controls can sit unused if you never map them.
The second is ignoring desk space. Measure your desk, leave room for a computer keyboard and mouse, and remember that a controller you cannot comfortably reach will not be played.
The third is skipping the software check. Mapping controls takes patience, so a model that works smoothly with your DAW saves you a lot of setup time.
- Decide what you will play most: keys, pads or sliders.
- Check that the size fits your desk and your hands.
- Confirm the features you want, such as aftertouch or weighted keys, are actually present.
- Look at how well the model works with your DAW.
- Plug it in by USB and map a few controls before you add more gear.
Treat your first controller as a learning tool. After a few months, you will know which controls you reach for, and an upgrade becomes an easy decision.
Frequently asked questions
Which type of MIDI controller should a beginner buy?
Show answer
A keyboard with some pads and knobs is the safest start. It covers melodies, basic drums and simple parameter control in one unit.
Do I need weighted keys?
Show answer
Not necessarily. Weighted keys suit piano players, while entry-level boards often leave them out and still work well for synths and beats.
Does a MIDI controller make sound on its own?
Show answer
No. It sends performance data, and your software or hardware instrument produces the sound.
How does a controller connect to a computer?
Show answer
Most connect by USB. Some also have a 5-pin MIDI DIN output for hardware synths.