Wondering whether you need one of those audio interfaces for your first recordings? Usually, if you want to connect an XLR microphone or plug a guitar directly into your computer; USB microphones have an interface built in. It converts sound to digital and back.
It is a core piece of any home studio, so it pays to know what the features on the box mean.
| Item | Value |
|---|---|
| Phantom power for condenser mics | 48V |
| Setting most people record at | 24-bit 96 kHz |
| Top setting on some interfaces | 24-bit 192 kHz |
| Typical headphone port | 1/4″ stereo |
| Computer connection | USB or Thunderbolt |
These figures come from Yamaha’s explainer on audio interfaces. Specifications and common practice change, so check the source and the maker’s own spec sheet before you rely on them.
What an audio interface actually does
Your computer’s built-in sound card is made for playing videos and music, not for capturing a microphone cleanly. An interface is a dedicated box that does the job properly. It gives you the connectors for microphones and instruments, plus outputs for speakers and headphones.
The path of a signal is simple. Your microphone feeds the interface’s preamp, which boosts the weak signal to a level that can be recorded. Next, an analog-to-digital converter turns it into data that travels to your computer.
On the way back, the audio goes through a digital-to-analog converter. That signal feeds powered speakers through the line outputs, or headphones through the headphone output.
Inputs, preamps and phantom power
Start by counting what you will record at the same time. A solo singer-songwriter needs very little. A band, or a drum kit with many microphones, needs far more inputs.
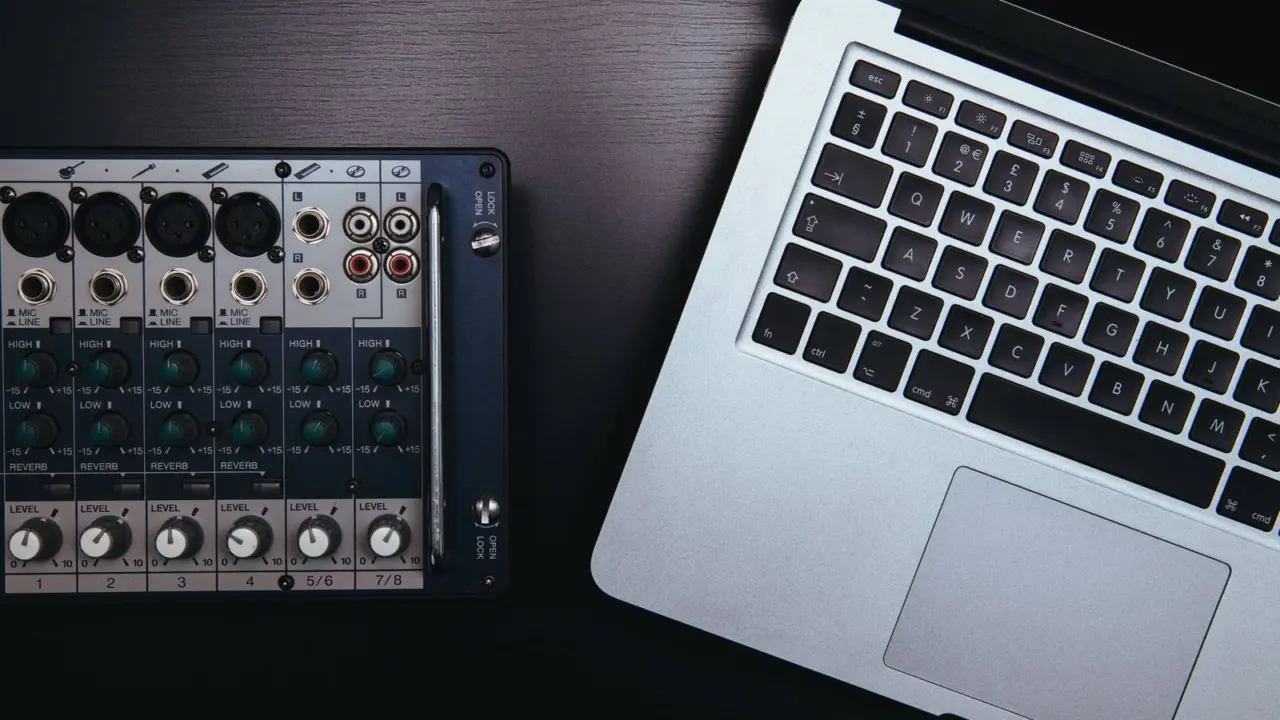
Most interfaces accept either XLR mic cables or 1/4″ line and instrument cables, which gives you flexibility. Look for these things on the front panel:
- Combo inputs that take both XLR and jack plugs.
- An instrument setting for plugging in a guitar or bass directly.
- A switch for phantom power, ideally per channel.
- Gain knobs with level meters, so you can see when you are clipping.
Phantom power is a 48V electrical signal that condenser microphones require. Dynamic microphones do not need it, so leave it off unless your mic asks for it.
The quality of both the microphone and the preamp has a significant impact on how a recording sounds. In practice, even budget preamps today are good enough for early projects, and your room and mic technique matter at least as much.
Sample rate and bit depth without the confusion
Sample rate is how often the interface measures the signal each second. Bit depth is how finely each measurement is described. Higher values mean larger files and more work for your computer.
Yamaha describes 24-bit 96 kHz as a common recording setting and suggests that the 192 kHz capability of some interfaces is often unnecessary.
So do not choose a model because of the biggest number on the box. Check that it offers the common settings, and spend your attention elsewhere.
Latency and direct monitoring
Latency is the small delay as audio travels through the interface input, into the computer, back out and to the output. When you play along to a backing track, a long delay makes it feel like your own playing is late.
There are two main fixes:
- Lower the buffer size in your recording software. The lower the buffer, the less latency, though your computer works harder.
- Use direct monitoring, sometimes called zero-latency monitoring, which lets you hear the input before it goes through the computer.
Direct monitoring does not strain your computer, so it is the better choice while tracking. Many interfaces include it, but confirm that before you buy.
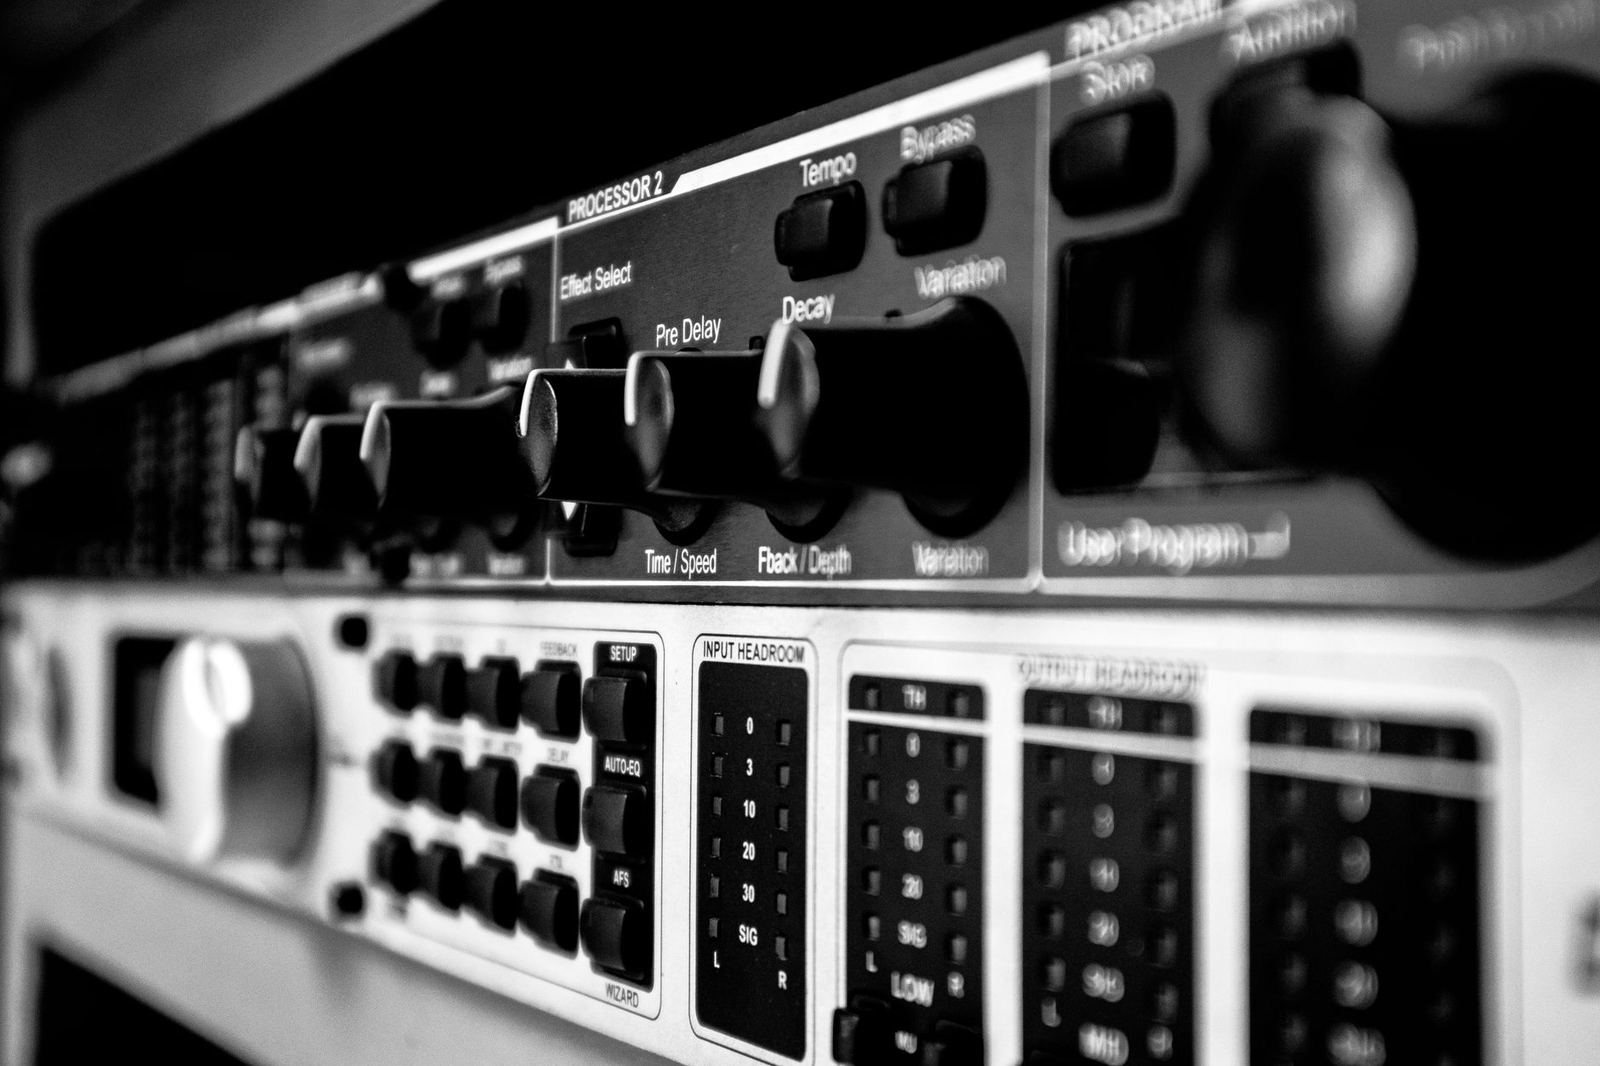
Connections, outputs and drivers
Check the interface’s connection requirements against your computer’s ports. Yamaha lists USB and Thunderbolt as current options and notes backward compatibility between USB 3.0 computers and USB 2.0 interfaces.
Check the outputs as well as the inputs. You will want:
- Line outputs to feed your speakers.
- At least one headphone port, typically 1/4″ stereo.
- MIDI ports, if your keyboard or controller needs them rather than a direct USB connection.
Your monitoring choice matters here too. Read our guide to studio monitors before matching outputs, and see how studio monitor placement changes what you hear.
Some interfaces also have two headphone outputs and let you send a separate mix to each. That is handy when you record with another musician.
Who needs an interface, and who does not
If you only make music with software instruments and listen on headphones, your computer’s own output may be enough for a while. An interface becomes worthwhile the moment you record something real, such as a voice, an acoustic guitar or a synth with a line output.
It also helps when you want steadier playback. A dedicated unit usually gives you a proper headphone amplifier, more reliable outputs and controls you can reach without opening a menu.
- Vocalists and podcasters should match mic inputs to the microphones they will record simultaneously, with phantom power if those microphones require it.
- Guitarists and bassists need an instrument input and good direct monitoring.
- Producers who work mostly in software need clean outputs and a solid headphone stage.
- Bands need many inputs, and should plan for a bigger unit.
Small details that matter every day
Spec sheets rarely mention comfort, yet it shapes how often you use the gear. A big, clearly marked gain knob and a visible clipping light save you from ruined takes.
Think about the desk, too. A compact box sits easily beside a keyboard, while a rack unit suits a permanent room. Check where the connectors are, because rear inputs are awkward if the box sits against a wall.
Finally, remember that cables, stands and a pop filter add to the cost. Keep a small amount of budget aside for them so a good interface is not held back by weak accessories.
How to choose
Work through your needs in order. Write down your answers before looking at products, so marketing does not decide for you.
- Count the inputs you will use at the same time.
- Check that your computer has the right port.
- Confirm phantom power and direct monitoring.
- Read recent user reports on drivers for your operating system.
- Set a budget and leave room for cables and headphones.
A simple interface with clean preamps and stable drivers will serve you better than a feature-heavy one you cannot get working.
Drivers deserve a special mention. Some interfaces work without extra software, while others need the maker’s driver, so look at the manufacturer’s support page for your operating system before you buy. Recent user reports tell you more than the box does.
Frequently asked questions
Do I need an audio interface to record vocals?
Show answer
For a condenser microphone with an XLR cable, yes. The interface supplies the preamp, phantom power and conversion. A USB microphone has these built in.
Does a higher sample rate sound better?
Show answer
Yamaha’s explainer calls 24-bit 192 kHz overkill in many cases, and says most people record at 24-bit 96 kHz.
What is phantom power?
Show answer
It is a 48V signal sent down the cable that condenser microphones need. Dynamic microphones do not require it.
How do I get rid of latency?
Show answer
Lower the buffer size in your recording software, or use direct monitoring if your interface has it. Direct monitoring avoids the delay without extra load on your computer.